
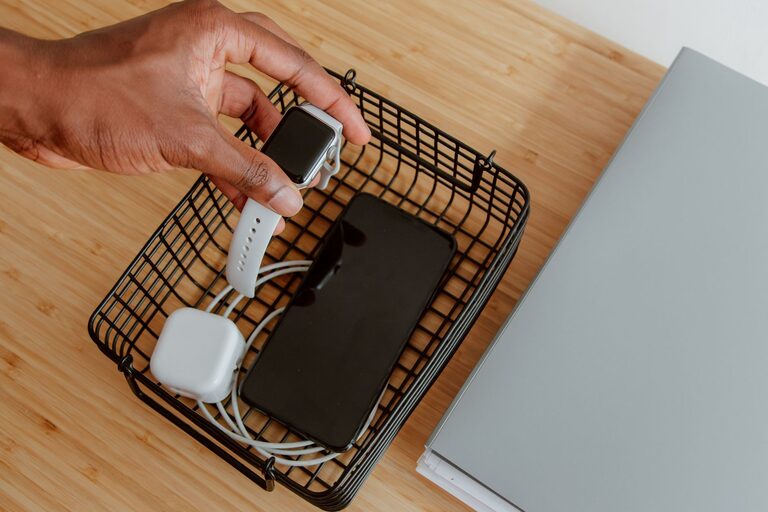
Setting up a charging station for your devices can simplify your daily routine and keep your gadgets organized and ready to use. Whether you have smartphones, tablets, smartwatches, or earbuds, having a dedicated charging spot helps reduce clutter and ensures everything is powered up when you need it. In this guide, we’ll walk you through the steps to create an efficient and user-friendly charging station that fits your space and devices.
Why Set Up a Charging Station?
Before diving into the details, it’s helpful to understand the benefits of having a charging station:
– Organization: Keeps all your cords and devices in one place.
– Convenience: Makes it easy to charge multiple devices simultaneously.
– Safety: Reduces the risk of cables tangling or causing trips.
– Protection: Helps prevent devices from being damaged by careless charging.
Choose the Right Location
Selecting the best spot for your charging station is key. Consider the following:
– Accessibility: Pick a location you visit often, like a desk, kitchen counter, or bedside table.
– Power Source: Ensure there’s an electrical outlet nearby.
– Ventilation: Avoid enclosed spaces that can overheat devices.
– Surface: A sturdy, flat surface is ideal for stability.
Gather the Necessary Supplies
To set up your charging station, you’ll need some basic materials:
– Charging Hub or Multi-Port USB Charger: Allows multiple devices to charge at once.
– Cables: Make sure you have the correct chargers for each device.
– Cable Management Tools: Clips, ties, or sleeves to keep cords tidy.
– Storage Container or Stand: To hold devices neatly while charging.
– Labeling Supplies (Optional): For easy identification of cables or device spots.
Step-by-Step Setup Guide
1. Assess Your Devices and Charging Needs
List all devices you want to charge regularly. Check their charging requirements—some may need fast chargers, while others use standard USB power.
2. Select a Suitable Charging Device
Choose a charging hub with enough ports and the right power output. For example, USB-C ports for newer devices, or wireless charging pads for compatible smartphones.
3. Organize Your Cables
Use cable clips or ties to group cables by device or length. Avoid letting cords tangle or spread across your workspace.
4. Arrange Your Station
– Place the charging hub near the outlet.
– Position the storage container or stand where devices will rest comfortably.
– Slot cables through organizers or holes designed for cable management.
5. Test and Adjust
Plug in your devices and observe the setup. Make sure cables reach comfortably without strain and that devices sit securely.
Tips for Maintaining Your Charging Station
– Regularly clean cords and devices to avoid dust buildup.
– Inspect cables for wear and tear and replace damaged ones.
– Label your cables if multiple people use the station.
– Keep liquids away to prevent accidental spills.
– Update chargers as needed to keep up with new device standards.
Additional Ideas for Customizing Your Charging Station
– Use a small drawer organizer to store extra cables and adapters.
– Add a small lamp or nightlight for visibility.
– Incorporate a clock or calendar to boost your workspace efficiency.
– Use decorative elements like plants or photos to make the area inviting.
Conclusion
Creating a dedicated charging station is an easy way to streamline your tech routine and keep your devices powered and organized. By choosing the right location, gathering the proper tools, and following these simple steps, you can build a customized charging solution that fits your lifestyle and space.
Start assembling your charging station today and enjoy a clutter-free, efficient way to keep your devices ready for action!